Feature F1 Unlocked
STRATEGY UNPACKED: Bernie Collins dissects the red flag dilemma facing the teams in Melbourne
Safety Cars and red flag stoppages characterised the 2023 Australian Grand Prix. How did teams react and why? Who won and lost? The optimum strategy pre-race was believed to a one-stop strategy using the medium and hard tyres. However, rain during FP2 meant that teams did not have the good read on tyre performance…
Albon’s crash on Lap 7 at Turn 7 provided a big decision for the teams. Should they stop at this Safety Car and fit a hard tyre? That would save them stopping again before the end of the race. The Safety Car saves around 6s compared to a normal pit stop as the cars that remain on track are forced to drive move slowly, while the speed of a car through the pit lane is unaffected compared to a stop under green flag conditions.
Leclerc’s incident on Lap 1 had already created an early Safety Car lasting three laps. So when the Lap 7 Safety Car was deployed, teams only had an additional three laps of flying lap tyre data to aid any decision.
Three cars decided to box under the Lap 7 Safety Car and, as a result, lost out due to the red flag that followed. The red flag gave all drivers a chance to change tyres in the pit lane during the stoppage without any change of position. So what about the three that stopped?

George Russell
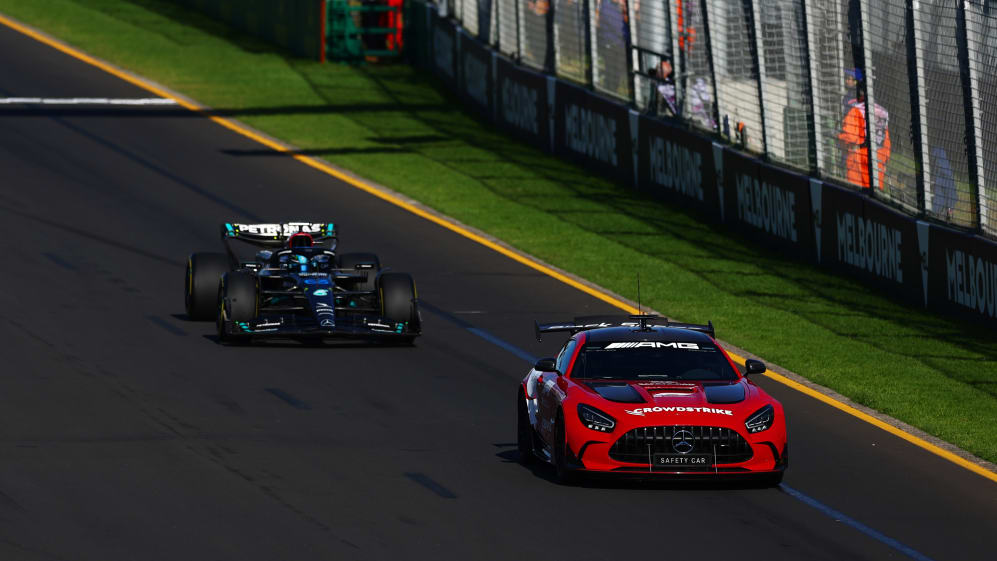
With the Mercedes cars leading the pack, they had many advantages – but there were some downsides. In this case, Mercedes had two chief issues . Firstly, they had the least amount of time to make any decision. The Safety Car was deployed 31 seconds before Russell reached the pit entry.
Secondly neither driver had seen or driven through the incident to comment on how bad it looked, and the likelihood of a red flag being needed – although no driver in the field actually gave this feedback.
With the Mercedes drivers only 1s apart, it would only be possible to stop one car, so they elected to stop the lead driver onto what they believed would be the preferred strategy.
The chart below shows the optimum medium-hard strategy in grey versus the same strategy stopping early under the Lap 7 Safety Car in yellow. The chart would show a flat horizontal line if a driver completed the same lap time every lap.
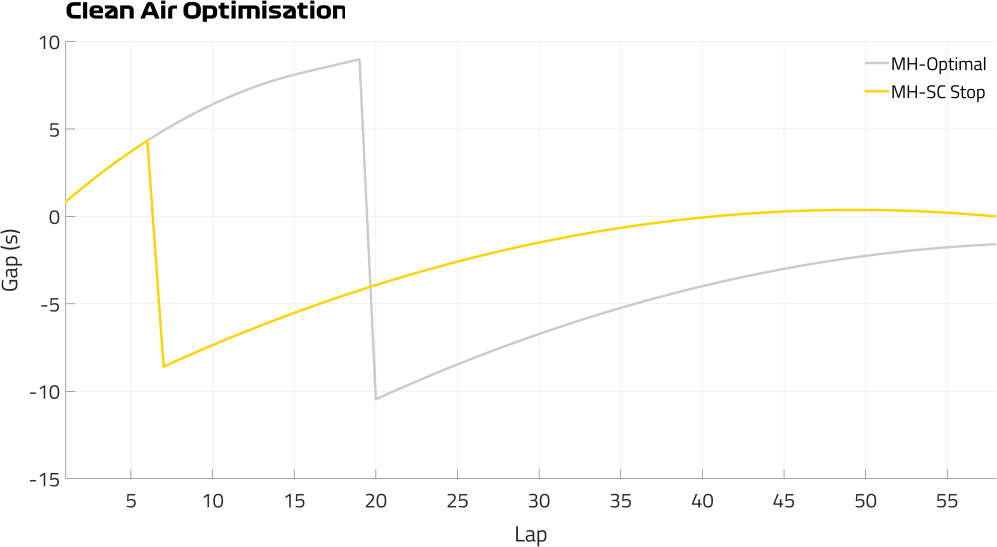
Moving upwards shows a lap faster than this average lap and the sharp fall downwards represents a pit stop. The chart doesn’t show any traffic effects. With the saving for the Safety Car pit loss and low degradation expected on the hard tyre, it can been seen that in this optimum case, the driver taking advantage of the Safety Car finishes ahead of those that do not.
This assumes no further Safety Car opportunities and no red flags. So it can been seen that although earlier than they would have liked, Mercedes would have done what they felt was the best possible strategy for the lead driver on track.
Russell comments after the pit stop but before the red flag: “Bold call, I like it.”
And then during the red flag, he says: “Yeah, it’s not your fault guys, it was a good call.”
Hamilton says “that’s put me at a massive disadvantage” as Russell boxes under the Safety Car as Hamilton remains on track. His engineer responds “We don’t think so, Verstappen stayed out also.”
Carlos Sainz
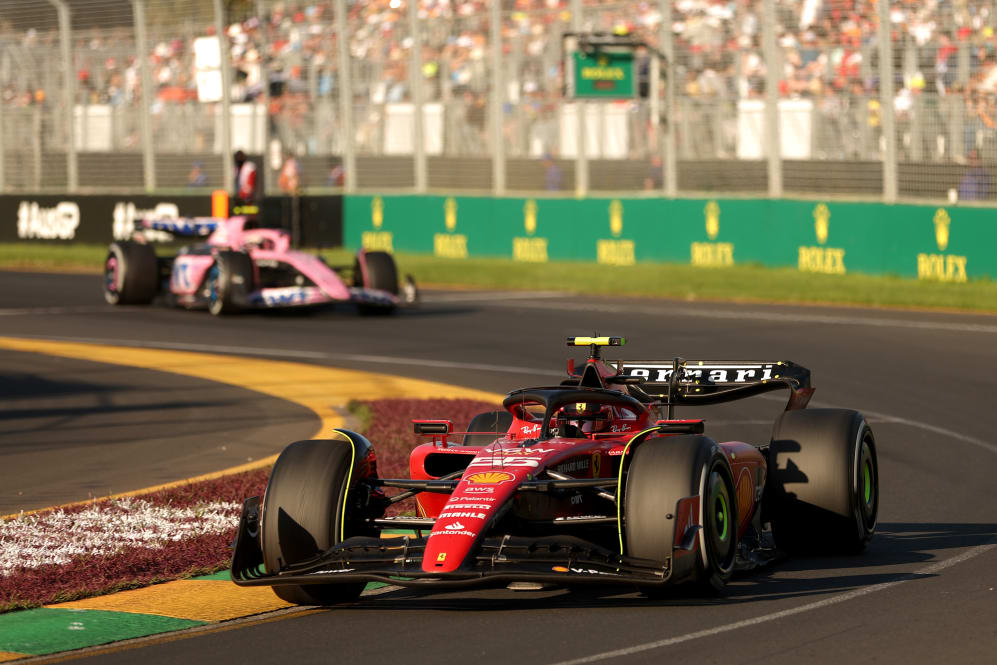
Ferrari were in a slightly different position as, with Charles Leclerc already retired, there was no option to split strategies and cover both bases. They would have done similar ‘optimum compares’ to Mercedes, but they also had another focus: Sergio Perez.
Perez had started from the pit lane on the hard tyre, and under the first Safety Car had stopped twice, once to fit mediums and again to get back onto hard. This meant that Perez would not need to stop again.
Sainz under the first Safety Car asks if Perez has boxed and is told that he is back on the hard to go to the end. This indicates that clearly both Sainz and the pit wall has a focus on Perez. Before the restart, Sainz says: “Keep me posted with Perez[‘s] window for Safety Car – sorry the normal window.”
This focus on Perez provides additional motivation to stop at the second Safety Car, as the reduced pit loss would allow Sainz to stop and emerge ahead of Perez – both drivers now on tyres able to run to the end.
Kevin Magnussen
Similar to Mercedes, Haas had two cars running on the same strategy, so elected to split. Haas chose to stop Magnussen as the second car on track, possibly indicating that Haas thought this was the non-preferred strategy. They could have had a different tyre model to the one above.
However, if either driver stopped, due to their positions on track, they would have emerged last. Therefore, stopping Magnussen at this stage made sense, as he had less positions to lose.
READ MORE: ‘I didn’t even feel it’ says Magnussen of dramatic race-ending crash in Melbourne
Staying Out
All other drivers that still needed to complete a pit stop stayed out, either because it was too early for them or – with the field still very tight – because they risked losing too many positions.
I’m sure there were many frantic discussions on the pit walls about the possibility of a red flag – but none made it to the radio. Many teams will now be reviewing to see if they could have better predicted that race-changing red flag.


